
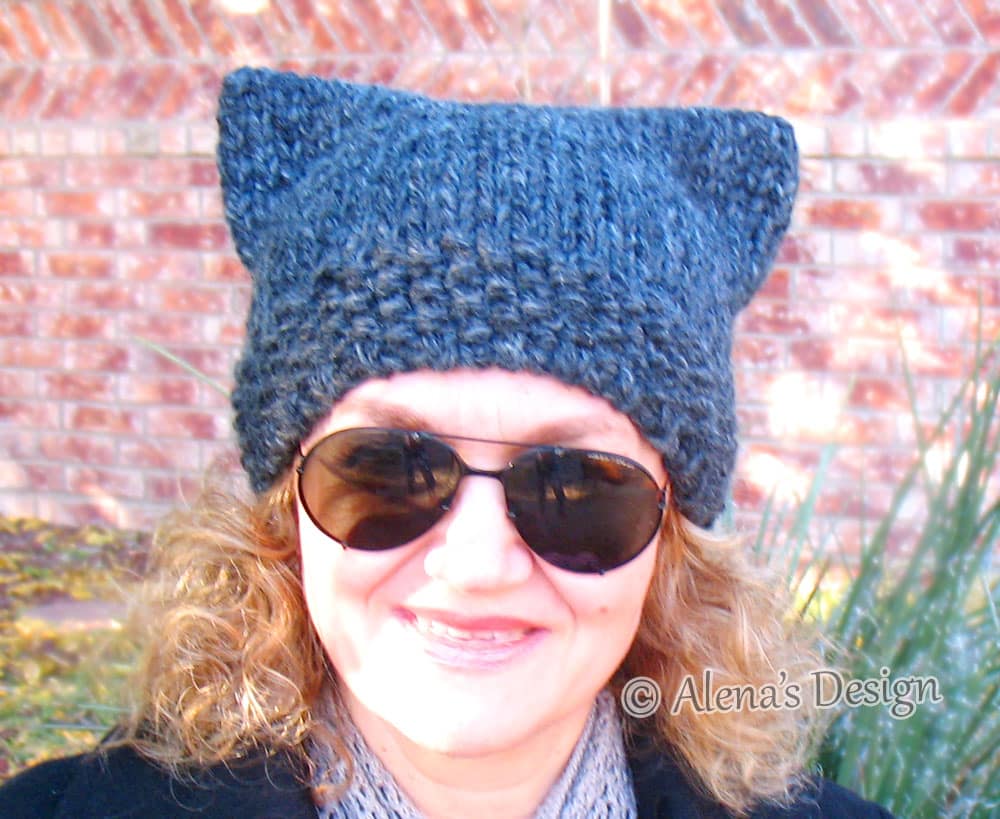
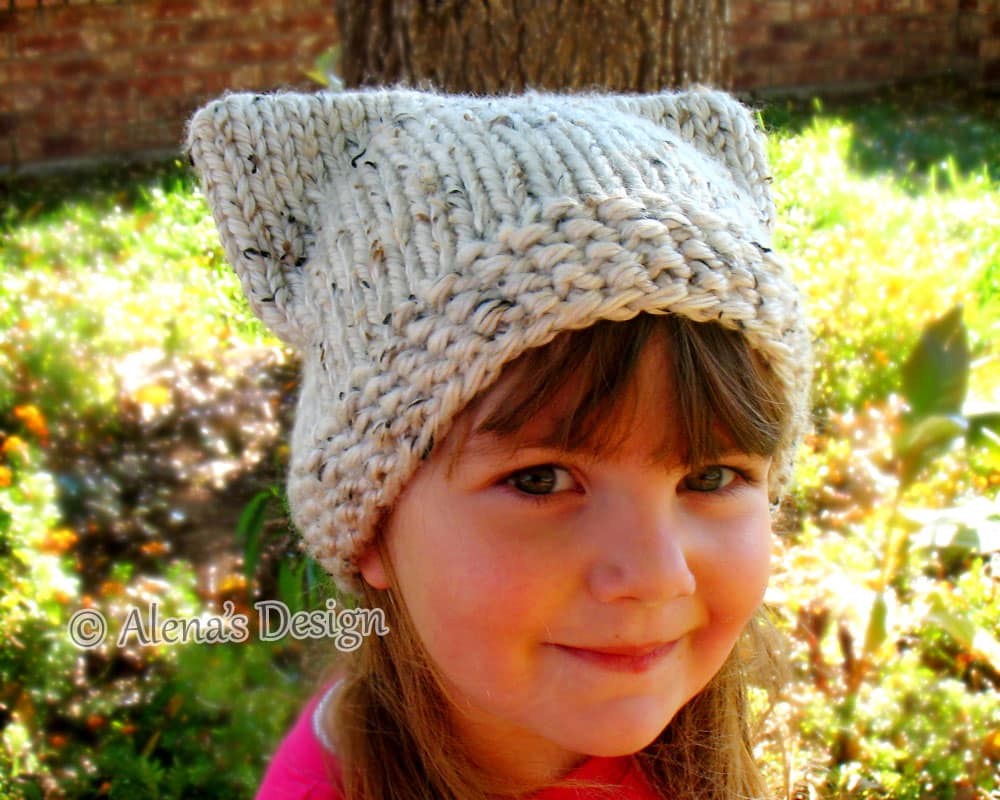
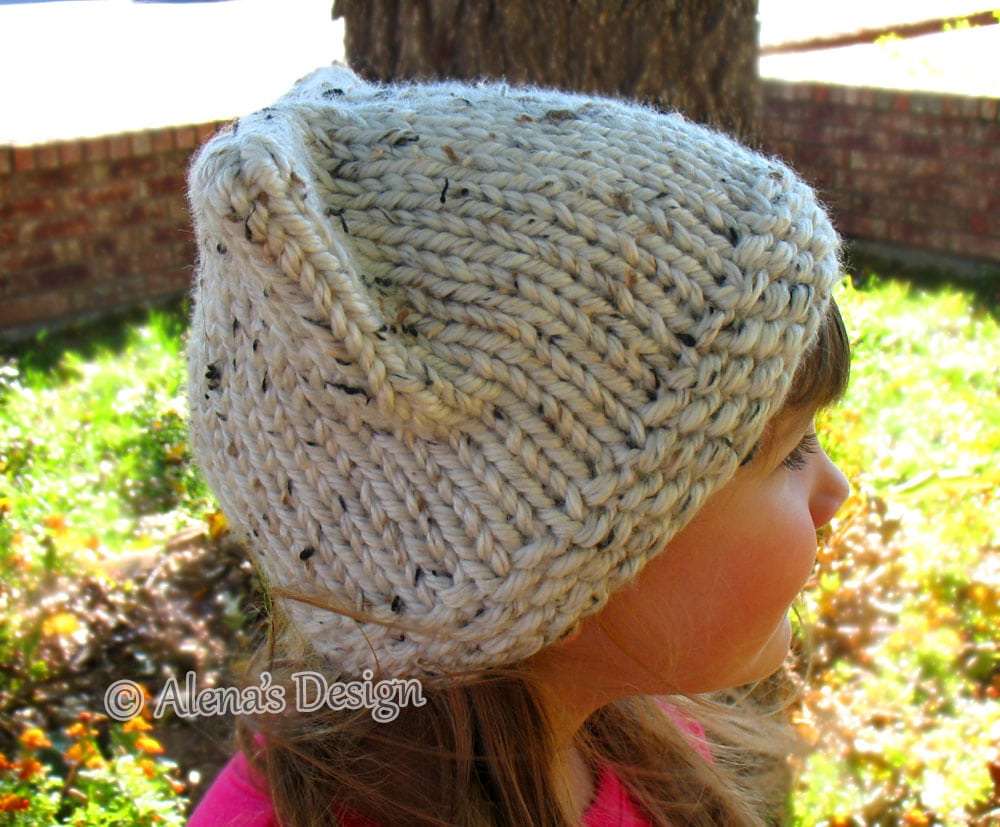
With this free knitting pattern you may make a Cat Hat in four sizes to fit Toddler, Child, Teen and Adult. This Cat Hat keeps you warm on those really cold days! Also the cat ears give this hat an adorable and attractive look.
DISCLOSURE This post contains affiliate links. If you choose to purchase the product or service via my affiliate link, I will get a small commission. This is at no extra cost to you, but it helps me to run this site. Buying the materials necessary to create new designs, and subsequently sharing it with you. I only recommend products that I like, and have used myself. Thank you for your support.
SKILL LEVEL
Easy
MATERIALS
Lion Brand “Hometown USA” (100% Acrylic 5oz/142g; 81yd/74m);
or
Lion Brand “Wool-Ease Thick & Quick” (80% Acrylic, 20% Wool 6oz/170g; 106yd/97m); Super Bulky weight – approx. 1 ball;
- US size 15 / 10 mm Double Pointed Needles and Circular Needle 16 in / 40.5 cm long
OR SIZE TO OBTAIN GAUGE. - Stitch markers.
- Yarn needle.
SIZE AND FINISHED MEASUREMENTS
Toddler – to fit head circumference: 19.0”/ 48 cm;
height: approx.6.5”/ 16.5 cm
Child – to fit head circumference: 21.5”/ 54.6 cm;
height: approx. 7.0”/ 18 cm
Teen/Adult – to fit head circumference: 22.5”/ 57 cm;
height: approx. 7.5”/ 19 cm
Adult – to fit head circumference: 24.0”/ 61 cm;
height: approx. 8.0”/ 20 cm
GAUGE
9 sts and 13 rows to 4”/10 cm over Stockinette Stitch,
Note: Be sure to check your gauge before starting to knit. If the gauge is larger, change to a smaller needle size, or work tightly. If it is smaller, change to a larger needle size, or work loosely.
INSTRUCTIONS
Notes:
- Instructions are written for the smallest size with changes for larger sizes given in parentheses. When only one number is given, it applies to all sizes.
- For ease in working, circle all numbers pertaining to size that you’re making.
- Hat is worked in rounds from bottom to top.
- To avoid mistake(s), count stitches in each row when finished.
SEED STITCH PATTERN
Rnd 1: * K1, p1, rep from * across.
Rnd 2: P the k st, k the p st.
Rep Rnd 2 for Seed Stitch Pattern.
HAT
Cast on 40 (46, 50, 54) sts. Place marker for beginning of round, join to work in rounds, being careful not to twist the sts.
Work in Seed Stitch Pattern for 7 rounds.
Next Rnds: Work in Stockinette St (knit every round) until hat measures 6.5 (7.0, 7.5, 8.0)” / 16.5 (18, 19, 20) cm from cast on edge.
Flip the hat on WS. Divide the stitches in half onto two needles, and complete with 3-needle bind off.
Weave in ends and block, if desired.
STITCH ABBREVIATIONS
approx – approximately; beg – beginning; dpn – double-pointed needle(s); k – knit; lp(oop(s); oz – ounce(s); p – purl; rem – remain/remaining; rep – repeat(s); Rnd(s)- round(s); RS – right side; sl – slip; st(s) – stitch(es); St st – Stockinette stitch; tog – together; WS – wrong side; () – work instructions between parentheses, in the place directed; * – repeat instructions following the single asterisk as directed; ” – inch(es);
You may get the PDF pattern here
© Alena’s Design patterns are protected by copyright. You may not rewrite, photocopy, redistribute, or sell the patterns in any form. You have my permission to sell the finished product if you will credit me for the pattern with a link to my site: https://www.alenasdesign.com/ when listing or selling the items made from patterns. If you need any help with my patterns, you may contact me: www.www.alenasdesign.com/contact-us
Almost to the cast off…do you then do anything to shape the ears?
This hat is very simple to make, and has a rectangle shape when laid flat. Ears are formed when you wear, and require nothing special when making. Should you want to help the process, you may pinch the ears to help form them.
Hi there,
Do you use double pointed needles or circular to start? Where do you change needles? Thanks!
I use a circular needle to start, and a double pointed to complete with 3-needle bind off.